.webp?w=3840&q=75)
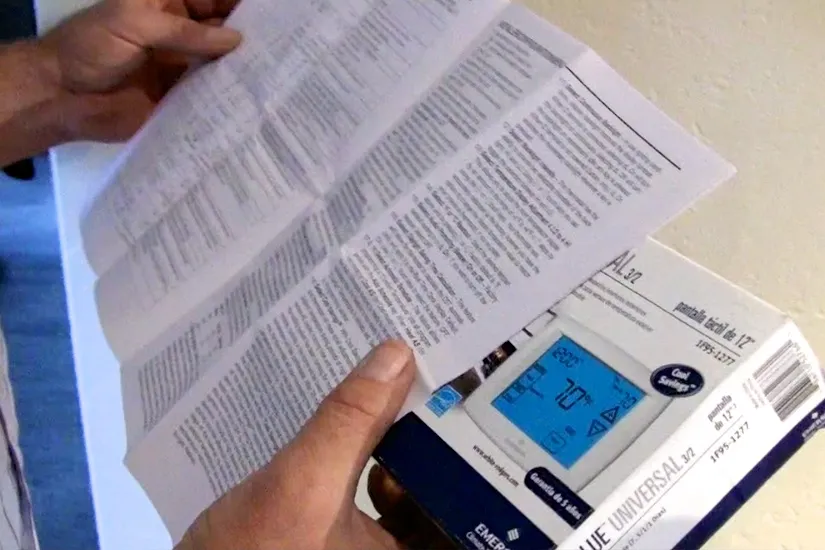
SAN JOSE — Whether your current thermostat is broken or you’re just ready to upgrade to a programmable model, replacing a thermostat is a cost-effective way to improve your home energy efficiency. Fortunately, thermostat replacement is something you can easily perform yourself. Here are some simple steps to follow:
1. Determine which type of thermostat is compatible for your system. For instance, the most common type for a 24-volt system is a universal thermostat. However, this won’t work for baseboard heating, which is a different application.
2. Turn off the power to your heating unit. Typically, there will be a switch located either on your furnace or on the wall next to the furnace.
3. Remove your old thermostat from the wall, and pay attention to the color and configuration of the wires (i.e., R to red and W to white).
4. Attach the new thermostat to the wall and reconnect the wires in the correct configuration.
5. Put the cover on the thermostat and restore power to the furnace.
6. Test the furnace to make sure it operates properly. If you have air conditioning, you should test that as well.
7. Once you’ve determined that everything is working properly, you can program your new thermostat.
Throughout the process, it’s important to reference the manufacturer’s instructions to ensure both safety and correct installation.